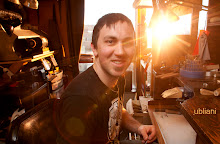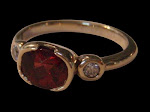
 I've been dry-walling and painting, building walls, making signs and applying graphics... Oh ya, and making jewelery! I'm in the last week of what has been a very busy last few months but I'm just about ready. On Saturday February 12th at 1:00 I will be opening the doors of 'D' Gallery!!! Please come for a delicious Red Truck lager or a glass of wine and to view my jewelery as well as the paintings of Lindsey Kyoko Adams.
Monday, February 7, 2011
Opening soon...
I've been dry-walling and painting, building walls, making signs and applying graphics... Oh ya, and making jewelery! I'm in the last week of what has been a very busy last few months but I'm just about ready. On Saturday February 12th at 1:00 I will be opening the doors of 'D' Gallery!!! Please come for a delicious Red Truck lager or a glass of wine and to view my jewelery as well as the paintings of Lindsey Kyoko Adams.

Friday, February 4, 2011
I can feel the love....

Please keep sending me photos of your jewelery pieces. Receiving a photo of a ring I've made in my in-box, all set up and cared for, really shows me how special these projects are to my clients... I usually only see a ring like this in a half finished state. As soon as I finish a piece, I photograph it and just like that it is gone. I like remembering it surrounded by sky and ocean much better than how I saw it, surrounded by wax shavings and metal dust....
Wednesday, November 24, 2010
Wedding photos

 I absolutely love it when I receive photos from my clients of their wedding day. It makes the work I do even more rewarding when I know that I've added to that special day. Keep them coming everyone....
Friday, September 10, 2010
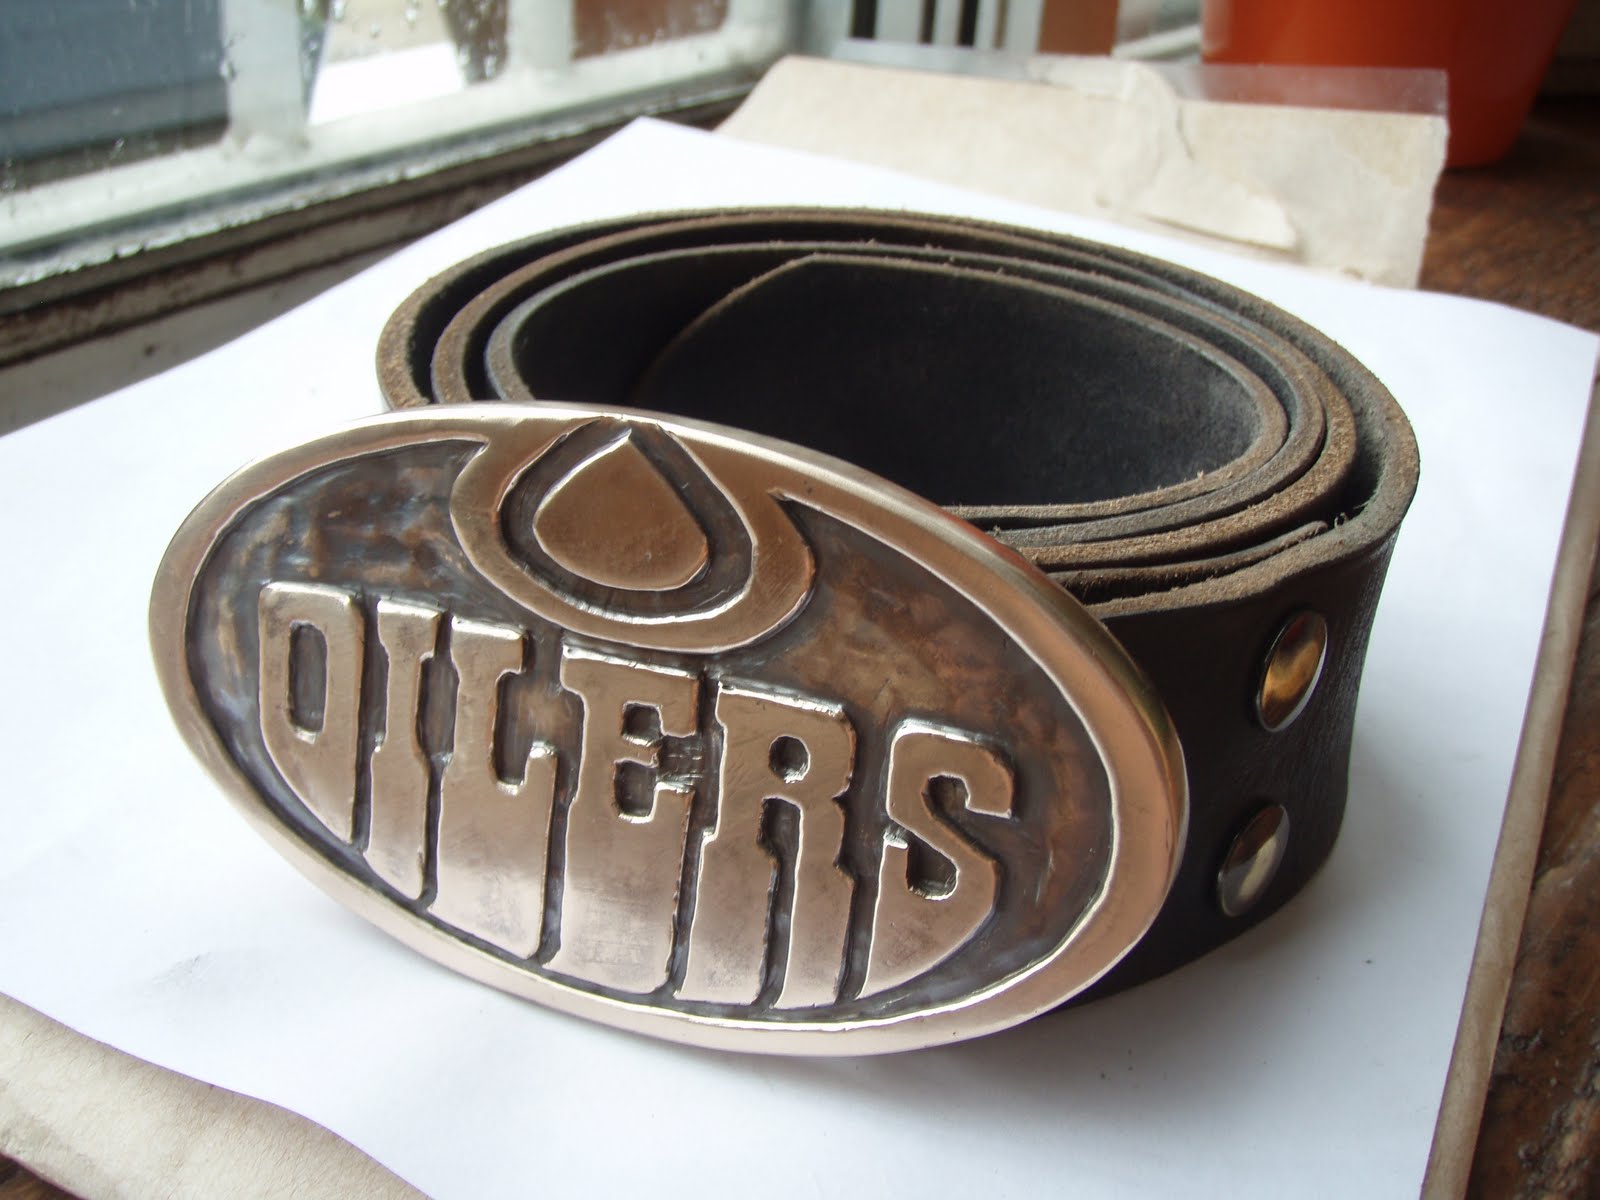
limited edition team logo belt buckles part 2


 Once the logos have been carved into the wax it's time to flip them over and hollow out the back. I hold them up to a light so as to be able to achieve a consistent thickness throughout.
 I then use my wax pen to add details like the findings to the back, as well as to clean up any nicks in the wax that have occurred in the carving process. These particular buckles were made as gifts and so I also added the recipients names to the back in
  the wax before I cast them into jewellers bronze (a mixture of sterling silver and copper). Once cast they still need to be filed, sanded and polished as well as have the moving fas
 tener for attaching a leather belt added and hammered in place. I have added a rich dark patina to give them an aged look and provide a dark contrast into the crevices in the background. It's then time to polish t
 hem and add leather for photographing. They are being produced, numbered 1 to 50, in a limited edition series that should soon be available for purchase on the web.

Tuesday, September 7, 2010
Limited edition team logo belt buckles


I started by modifying these team logos in photoshop. I needed them to be the right dimensions to work as belt buckles, the wings logo is a great example, as normally the wheel is small and most of the logo is a wing. I printed them out to the actual size needed and
 then set about turning them into 3D waxes for casting. I scribed and then cut the right size and thickn
 ess of wax off of my large wax block. The next step was to tape a logo to my piece
 of wax and carefully poke holes through the paper into the wax to transfer the logo onto the wax. My hand often cramps up during this step. Once I've poked holes every couple of millimeters around the entire logo, I remove the paper and connect the dots to complete my transfer onto the wax. Then out come the dental tools and so begins the painstaking process of carving my team logo belt buckle in 3D.


Friday, July 9, 2010
lilies brooch
 I was recently commissioned to make a 4oth anniversary sterling silver brooch based on my clients wife's favorite flowers, chocolate lilies. Seeing as how it was their 4oth (ruby) anniversary I had the added task of incorporating rubies into the design. We settled on star rubies due to their uniqueness and the fact that they are most often found as c
 abochons and would fit my idea of adding them as berries. We over looked the fact that chocolate lilies don't have berries, because what else were we to do?
I carved the brooch out of wax and had it cast into sterling silver.
My client wanted an antique sort of look to the piece, and I was glad that they were willing to spend a little extra to get me to make the findings by hand. I settled on a french catch, two pieces of
 tubing one that slides inside of the other. The outer tubing is soldered to back of the brooch and a cap or handle is soldered to the end of the inner tubing so that it can't slide out of the outer tube. The catch pin is fabricated from a piece of sterling plate and hammered to give it strength, it is riveted into position once everything else is soldered in place.I added a dark patina before polishing so that the crevices would remain dark. This helped me to achieve an antique sort of look.
The final step was the stone setting, a little hammering and I was ready for a final polish.

Thursday, July 1, 2010
Happy Canada Day!!
DuKo Designs  wishes everyone a very happy Canada day. I'll be out of town camping and doing Canadian things like drinking beer, eating maple syrup, paying homage to the beaver, and whatever else it is that we do. Have a great long weekend !!
 wishes everyone a very happy Canada day. I'll be out of town camping and doing Canadian things like drinking beer, eating maple syrup, paying homage to the beaver, and whatever else it is that we do. Have a great long weekend !!
Subscribe to:
Posts (Atom)