
 I absolutely love it when I receive photos from my clients of their wedding day. It makes the work I do even more rewarding when I know that I've added to that special day. Keep them coming everyone....
 I absolutely love it when I receive photos from my clients of their wedding day. It makes the work I do even more rewarding when I know that I've added to that special day. Keep them coming everyone....


 Once the logos have been carved into the wax it's time to flip them over and hollow out the back. I hold them up to a light so as to be able to achieve a consistent thickness throughout.
 I then use my wax pen to add details like the findings to the back, as well as to clean up any nicks in the wax that have occurred in the carving process. These particular buckles were made as gifts and so I also added the recipients names to the back in
  the wax before I cast them into jewellers bronze (a mixture of sterling silver and copper). Once cast they still need to be filed, sanded and polished as well as have the moving fas
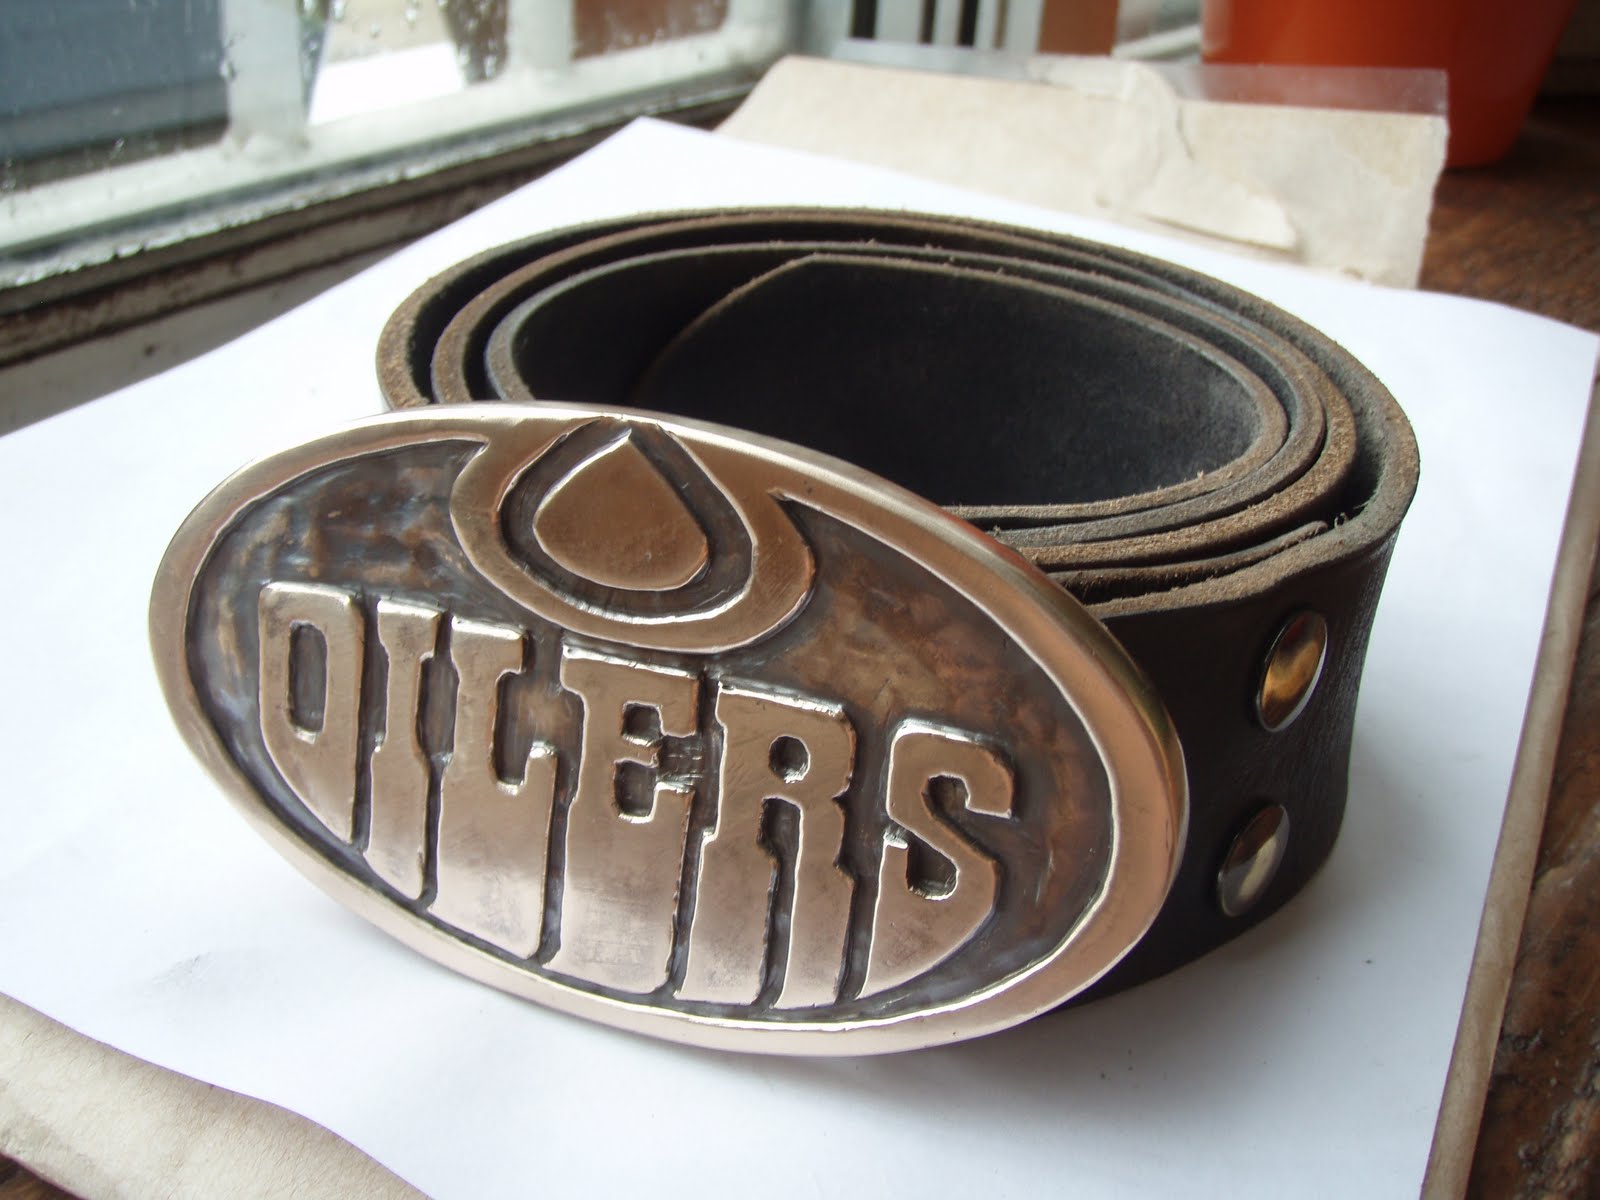
 tener for attaching a leather belt added and hammered in place. I have added a rich dark patina to give them an aged look and provide a dark contrast into the crevices in the background. It's then time to polish t
 hem and add leather for photographing. They are being produced, numbered 1 to 50, in a limited edition series that should soon be available for purchase on the web.


 then set about turning them into 3D waxes for casting. I scribed and then cut the right size and thickn
 ess of wax off of my large wax block. The next step was to tape a logo to my piece

 I was recently commissioned to make a 4oth anniversary sterling silver brooch based on my clients wife's favorite flowers, chocolate lilies. Seeing as how it was their 4oth (ruby) anniversary I had the added task of incorporating rubies into the design. We settled on star rubies due to their uniqueness and the fact that they are most often found as c
 abochons and would fit my idea of adding them as berries. We over looked the fact that chocolate lilies don't have berries, because what else were we to do?
 tubing one that slides inside of the other. The outer tubing is soldered to back of the brooch and a cap or handle is soldered to the end of the inner tubing so that it can't slide out of the outer tube. The catch pin is fabricated from a piece of sterling plate and hammered to give it strength, it is riveted into position once everything else is soldered in place.I added a dark patina before polishing so that the crevices would remain dark. This helped me to achieve an antique sort of look.

 wishes everyone a very happy Canada day. I'll be out of town camping and doing Canadian things like drinking beer, eating maple syrup, paying homage to the beaver, and whatever else it is that we do. Have a great long weekend !!


 t I inject three waxes from my rubber mold. Cast them into sterling silver. I needed to combine two of them together to make one ring large enough for him. Hers only needed minor tweeking to get the proper size. I then got the files out and removed the sterling silver edges.
 replacement edges, I was ready to solder them
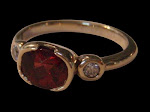
  in place. Once I was satisfied with the way everything lined up, I filed and sanded the rings until near completion. I applied a dark patina to the silver that would sink into the crevices creating a nice contrast once the rings were given their final polish. (shown below).


 It began by carving a man's ring size 8.25 from a wax tube. It was then cast in 19k white gold. This created the frame for the structure of the band.

 The 19k white also doesn't react to the patina I used.
 hammered texture carefully so as not to ruin the shape of the ring with the constant tapping.


 When my good friend told me that he wanted a rough gold bar with his young daughters name in it to hang on a chain for his wife, I have to admit I didn't know what to make of it. I'm a little more accustom to making much more polished and finished pieces. Luckily, I'm in the business of making sure my clients get what they want. He had all the gold, we just put a blow torch on it and poured a small ingot. Then a few passes through the rolling mill to flatten it out. Solder on some jump rings to hang it on a chain. Rough engraving (what he wanted) is quick and easy too. I'm rather pleased with the results, and there wasn't hours of sanding and polishing either.


 ails back and forth of various sketches and designs we settled on the image shown, above at right, and then it was time to get busy making the ring. I made the inner shank from 14k yell
 ow gold, and the outer shank out of 19k white gold (to match his fiances). I used a template printed from the original image he had sent me to trace the Koru onto the 19k stock and pierce out the design with my jewellers saw. After some careful fitting the two bands were in place and I could solder them together. Some filing, sanding and polishing and the ring was complete.


